Blog 04 - Customer Ford 8.8 install into FC3S
This customer purchased a Ronin 8.8 swap kit with grande axle conversion for their FC. After having a friend's shop re-gear and rebuild the 8.8 for him, it was my turn to install the diff in the car.
I started with the simple stuff. Pressed the old bearings/hubs out, then pressed in the new grande conversion bearings/hubs.

These allow you to run the ford explorer outer CV joints, which are quite a bit beefier than OEM turbo 2 CV's.

Next it was onto the diff install. I had shaved down the diff cover a few months prior, but hadn't done the case yet. So as per Ronin's instructions, I ground down the 3 notches on top and the cooling fins around the sensor. 
I also needed to switch out the pinion flange - the owner forgot to go to a small pattern flange to avoid clearancing the subframe for the larger flange.
Unfortunately I couldn't just swap a new flange on, as there is a one time use crush washer that pre-loads the pinion bearings, so I had to tear it all apart.

I cleaned off all the old gasket, then installed a new Dorman brand crush washer. I installed the new flange, and held the flange from spinning with a quick tool I plasma cut out. I started tightening down the nut with a 4 foot breaker bar, and it just kept tightening up to a point then going no-where.
It took a few minutes to realize the problem - I was having a hell of a time trying to get the crush washer to compress. After more struggling with the breaker bar, I knew I was going to get no-where. I actually had to support the face of the pinion gear in my press, and use a fair amount of force on the flange to start the initial crush. After getting that started, I was now able to turn the nut with my breaker bar until the play was gone and it started pre-loading the pinion bearings.

I got them to a happy 23 in/lbs or so of preload (spec 16-32 for new bearings), then re-installed the LSD and torqued the bearing caps down.
I gave the mating surfaces a final wipe with acetone, then used some "the right stuff" grey sealant to seal the 2 halves up!

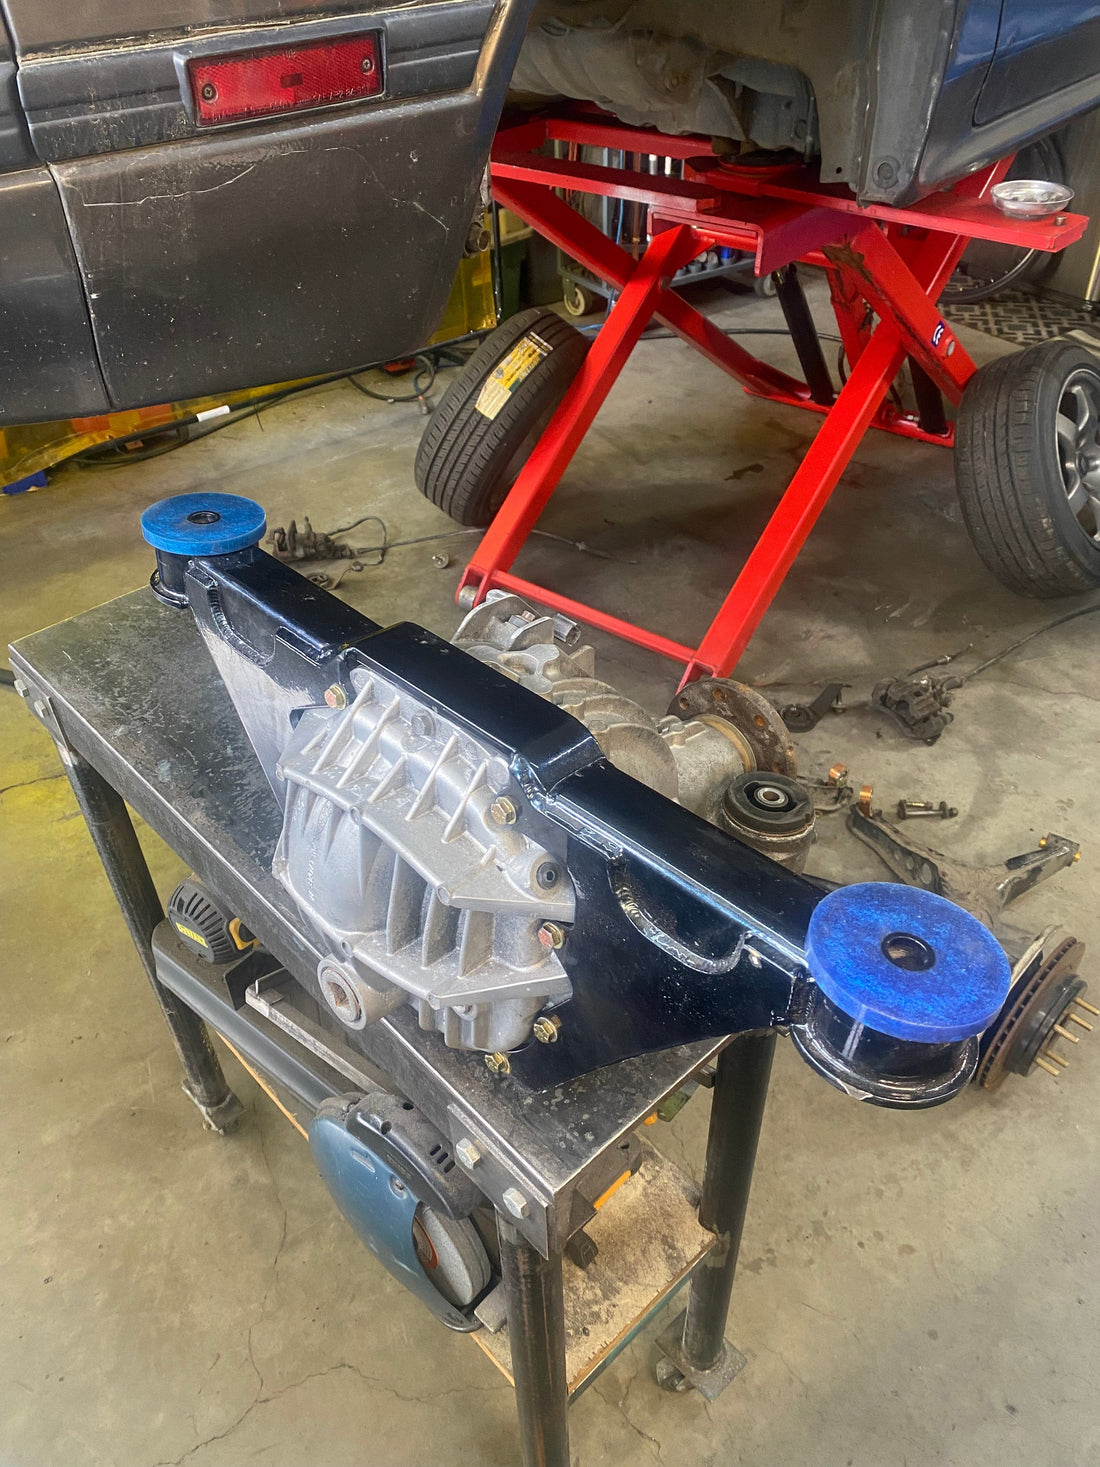
It looked pretty good with the new small pattern flange installed!

Now I could begin mockup of the Ronin kit. I installed some fresh MAD Autoworks bushings into the subframe and diff cradle, then got things assembled under the car.

The Ronin 8.8 kit requires you to flex the nose of the diff up quite a ways, so the compliance of polyurethane bushings really helps for this. This customer chose 80A bushings which are fairly stiff, so with the help of a clamp, pry-bar, and small jack, I was able to get the mounting bracket at the correct level.
I tacked the bracket in a handful of spots, then pulled the subframe out to fully weld it in place.

The reinforcement plates for the camber link needed a bit of bending to fit nicely, and the holes needed to be drilled out to final size.

Welding went smoothly, and everything was solid in place.

With that taken care of, it was time to test fit the subframe again to make sure everything looked proper:

Everything looked pretty good!
I installed the axles into the diff, then snuck the control arms into place and assembled them to the subframe.

And that's a wrap! This customer has some more work to do to get this shell set up and running for drifting, but that's one big item off the list.
Thanks for reading!